Introduction
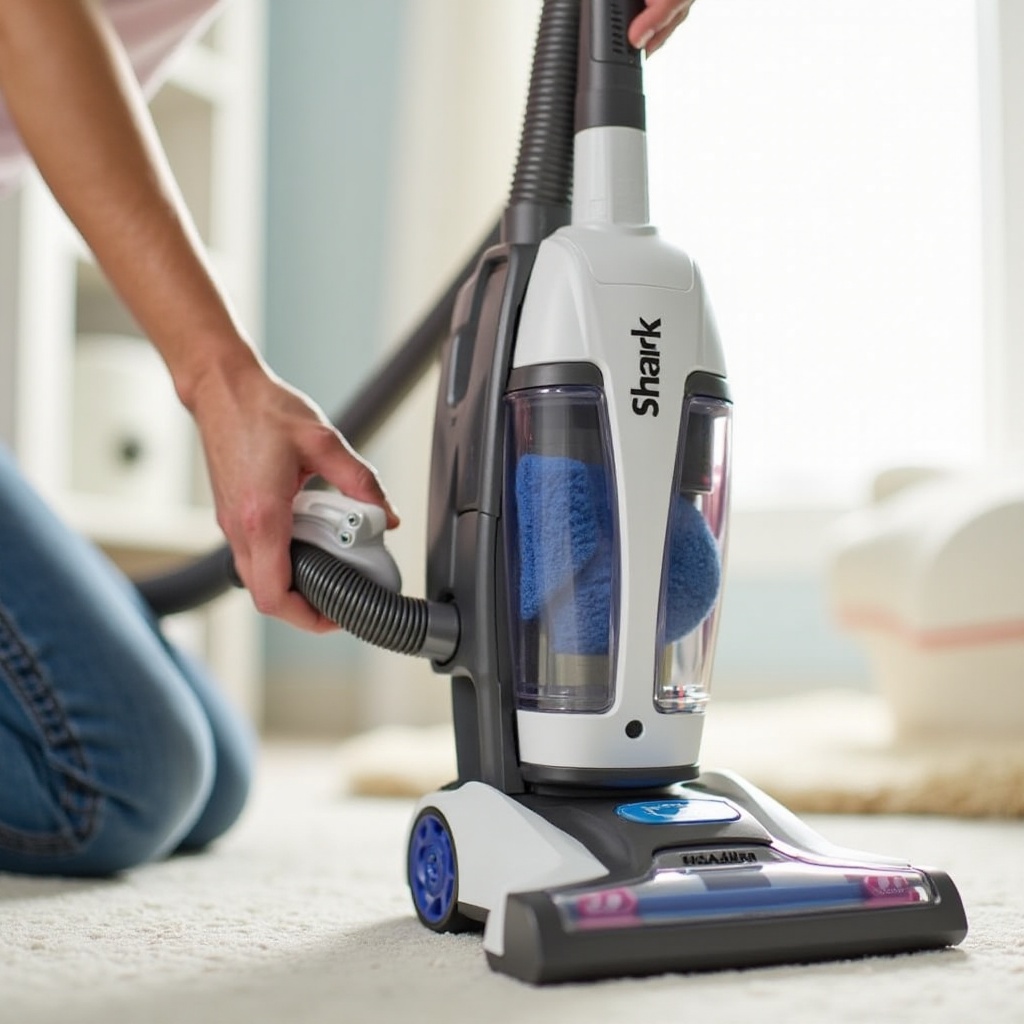
Regular maintenance of your Shark vacuum is essential to ensuring its long-lasting performance. One critical aspect includes the regular replacement of the vacuum filter. In this guide, we delve into the importance, manufacturer recommendations, and signs that indicate the need for a filter replacement. Plus, you’ll find step-by-step instructions to replace the filter and tips to maintain it between replacements.

Importance of Regular Filter Replacement
Replacing your Shark vacuum filter regularly is vital for various reasons:
- Efficiency: A clean filter ensures that your vacuum operates at its peak efficiency. Clogged filters reduce suction power and result in less effective cleaning.
- Air Quality: Filters trap dust, allergens, and other particles. A dirty filter can compromise your home’s air quality, directly affecting your health.
- Prolongs Vacuum Life: Regular filter replacement reduces wear on the vacuum’s motor, thus extending the overall lifespan of your vacuum cleaner.
Understanding these benefits underscores the importance of having a consistent filter replacement schedule. This practice not only keeps your home cleaner but also ensures that your vacuum remains a reliable cleaning partner for years to come.

Manufacturer Recommendations for Filter Replacement
Manufacturers provide guidelines that serve as an excellent reference point for filter replacement. Shark generally recommends:
- Foam and Felt Filters: These should be cleaned every month and replaced every 3-6 months, depending on usage.
- HEPA Filters: These need replacement every 12 months.
Adhering to the manufacturer’s recommendations helps in maintaining optimal performance. It is also crucial to consider the frequency of use; frequent users may need to replace filters sooner. Always refer to your specific model’s user manual for the most accurate information.
By following these guidelines, you can maintain your vacuum’s performance and avoid potential issues caused by neglected filter maintenance.
Signs You Need to Replace Your Shark Vacuum Filter
Recognizing when to replace your Shark vacuum filter can save you from potential issues. Here are telltale signs:
- Loss of Suction: If you notice that your vacuum isn’t picking up dirt as effectively, a clogged filter might be the reason.
- Unpleasant Odors: Odd smells coming from your vacuum are another sign that the filter is overdue for replacement.
- Visible Dirt on the Filter: If thorough cleaning doesn’t restore the filter to its near-original state, it’s time for a replacement.
- Allergy Symptoms: Increased allergy symptoms in your household can indicate that the vacuum filter is no longer trapping allergens efficiently.
- Frequent Overheating: A vacuum running hot may indicate the motor is working harder than it should because of a clogged filter.
Recognizing these symptoms early and replacing the filter promptly can keep your vacuum running smoothly and maintain a healthy home environment.
Step-by-Step Guide to Replacing Your Shark Vacuum Filter
Replacing your filter is straightforward. Here’s how to do it:
- Turn Off and Unplug: Always ensure the vacuum is turned off and unplugged to avoid any electrical hazards.
- Access the Filter: Open the vacuum’s filter compartment. Refer to your user manual for precise location.
- Remove the Old Filter: Take out the old filter carefully to avoid dispersing trapped dust and debris.
- Clean the Compartment: Wipe down the filter compartment with a damp cloth to remove any residual dust.
- Insert the New Filter: Place the new filter into the compartment, making sure it fits snugly.
- Close the Compartment: Securely close the filter compartment before using the vacuum.
By following these steps, you can easily replace the filter and ensure your vacuum performs effectively.

Maintaining Your Shark Vacuum Filter Between Replacements
While knowing when and how to replace the filter is essential, maintaining it between replacements is equally important. Here are some tips:
- Regular Cleaning: Rinse foam and felt filters once a month. Ensure they dry completely before reinserting them.
- Avoid Overloading: Don’t let the dustbin get overfilled as this can force particles into the filter.
- Check for Blockages: Periodically check and clean the vacuum’s hoses and attachments to prevent clogs.
- Store Properly: Keep the vacuum in a dry place to avoid moisture buildup in the filter.
Proper maintenance can prolong the life of your filter, enhancing your vacuum’s efficiency and ensuring your home remains clean.
Conclusion
Proper maintenance of your Shark vacuum filter is crucial for optimal performance, improved air quality, and a long lifespan. Regular replacement, guided by manufacturer recommendations and signs of wear, will keep your vacuum functioning like new. Combine this with diligent maintenance, and you’ll ensure that every cleaning session is as efficient as possible.
Frequently Asked Questions
How do I know if my Shark vacuum filter needs replacing?
Loss of suction power, odd smells, visible dirt on the filter, increased allergy symptoms, and frequent overheating are all signs indicating that your filter may need replacing.
Can I wash and reuse my Shark vacuum filter?
Yes, foam and felt filters can be rinsed and reused. They should be washed monthly and allowed to dry completely before reuse. HEPA filters, on the other hand, are not washable and need to be replaced.
What happens if I don’t replace my Shark vacuum filter regularly?
Failing to replace the filter regularly can result in reduced vacuum efficiency, poor air quality, unpleasant odors, and potential overheating. It can also place extra stress on the motor, reducing the vacuum’s overall lifespan.


