Introduction
Dyson handheld vacuums are known for their powerful suction and sleek design. However, to maintain their efficiency and extend their lifespan, regular cleaning is essential. Neglecting to clean your vacuum can lead to performance issues and diminished suction power. In this comprehensive guide, we will walk you through the steps to clean your Dyson handheld vacuum thoroughly and efficiently. By following these steps, you will ensure that your vacuum continues to operate at its best for years to come.
Preparing to Clean Your Dyson Handheld Vacuum
Before diving into the cleaning process, gather the necessary supplies. You will need a soft cloth, a brush (an old toothbrush works well), mild detergent, and water. Additionally, ensure that your vacuum is turned off and disconnected from the charger to prevent any accidental operation. Place the vacuum on a clean, flat surface with good lighting so you can clearly see each part.
Lay out all the attachments and accessories you plan to clean. Having everything prepared and at hand will make the cleaning process smoother and quicker. Now that everything is ready, let’s move on to the disassembling phase.
Disassembling Your Dyson Handheld Vacuum
Disassembling your Dyson handheld vacuum involves several steps. Follow these to ensure a thorough clean:
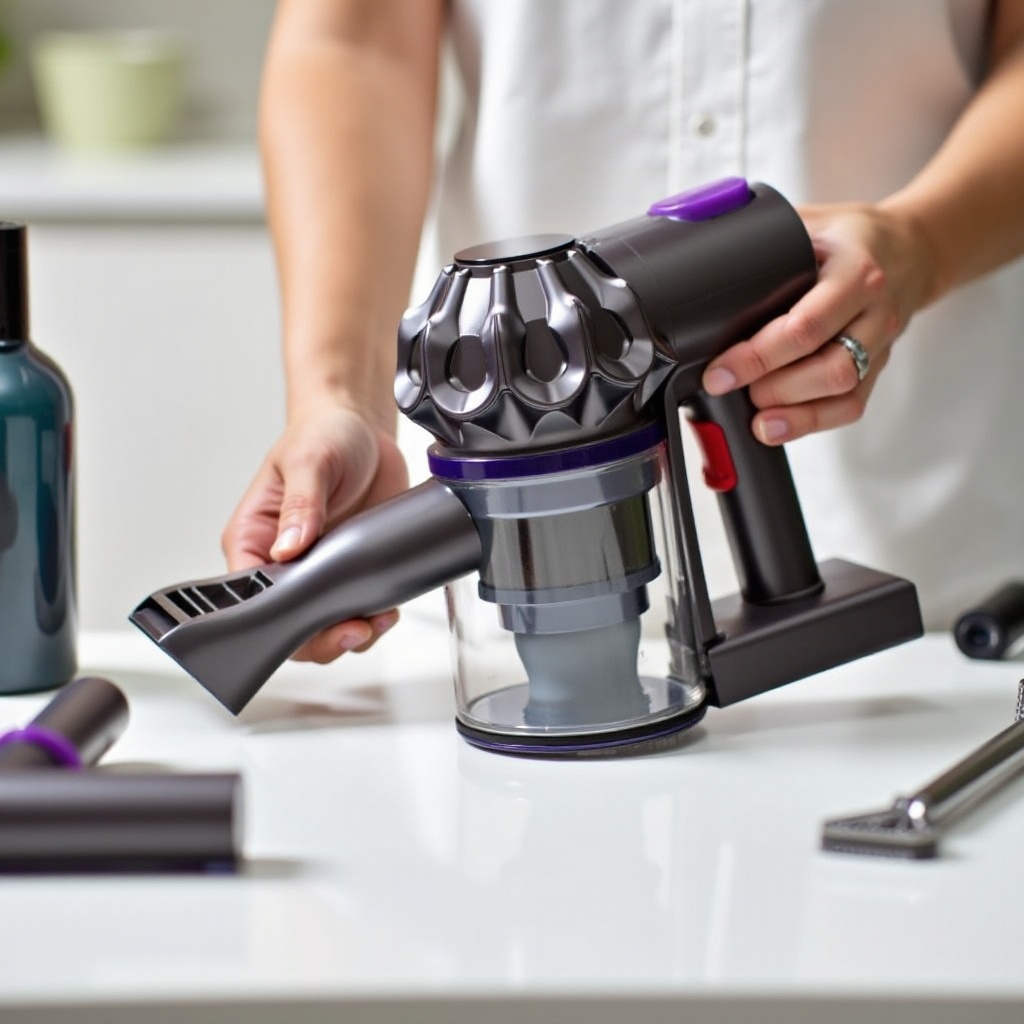
1. Remove the Dust Canister: Press the release button and detach the canister from the vacuum body. Carefully set it aside.
2. Take Out the Filter: Depending on the model, the filter typically twists off or pops out from the top of the vacuum.
3. Detach the Brush Bar: If your model includes a motorized brush bar, remove it from the motorhead. This usually involves unlocking a latch or pressing a button.
4. Remove Additional Attachments: Any other attachments, such as crevice tools or upholstery brushes, should also be removed and set aside for cleaning.
With all parts disassembled, you’re now ready to start cleaning each component.
Cleaning the Dust Canister and Filter
The dust canister and filter are crucial parts of your vacuum, and it’s important to keep them clean.
1. Empty the Dust Canister: Dispose of the debris in the trash. Use a damp cloth to wipe the inside and outside of the canister, removing any remaining dirt. For tougher spots, use a mild detergent mixed with water. Rinse thoroughly and let it dry completely.
2. Clean the Filter: Tap the filter gently to remove loose dust. Rinse it under cold water until the water runs clear. Avoid using soap or detergent, as they can damage the filter. Squeeze out excess water and let the filter air dry for at least 24 hours before reassembling.
Taking the time to properly clean the dust canister and filter will help maintain your vacuum’s performance and longevity.
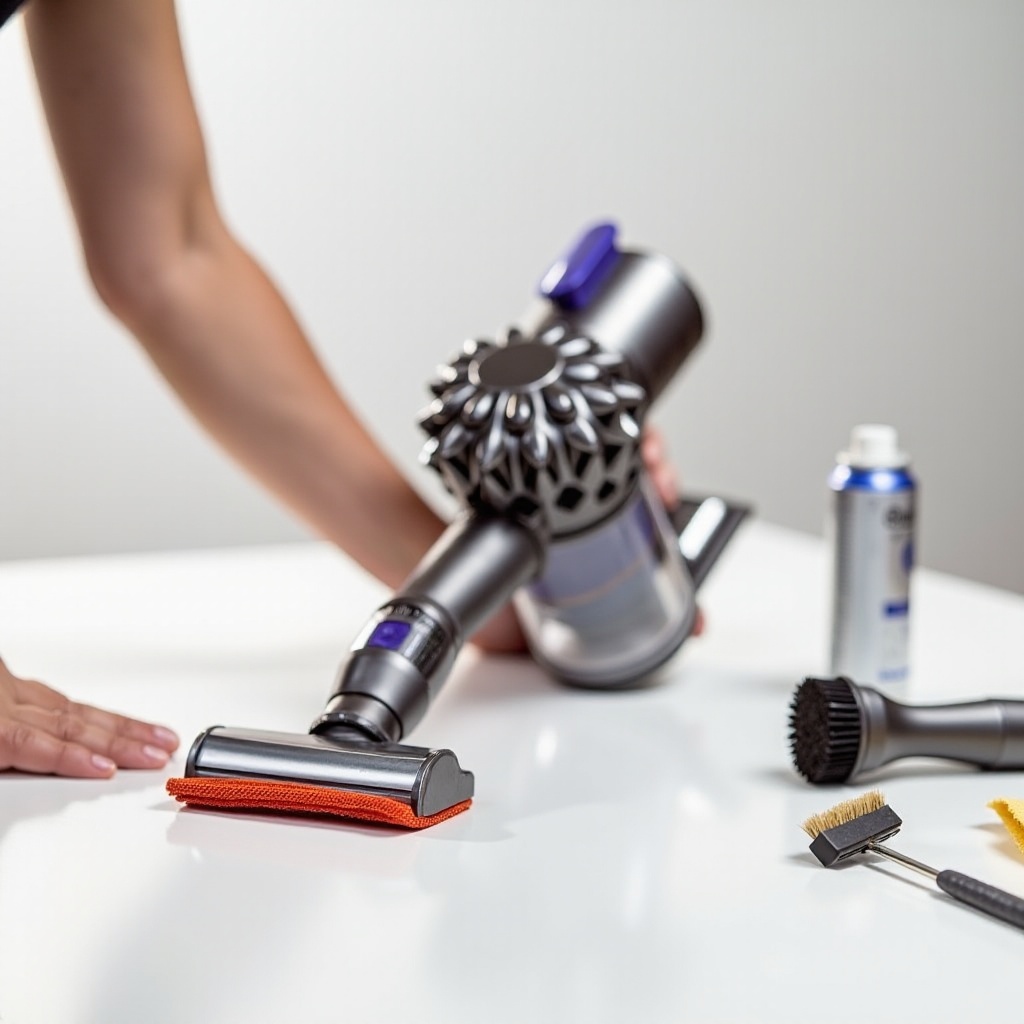
Cleaning the Brush Bar and Additional Attachments
Next, you need to focus on the brush bar and other attachments. These components often accumulate hair, fibers, and debris. Extending the functionality to these parts can significantly improve the overall performance of your vacuum.
- Clean the Brush Bar: Remove any hair or threads wrapped around the brush bar. Use scissors if necessary to cut through tangled messes. Wipe the brush bar with a damp cloth.
- Clean the Attachments: Use a brush or cloth to dust off attachments like the crevice tool and upholstery brushes. If needed, wash them with mild soap and water, then rinse thoroughly. Ensure all attachments are completely dry before reattaching them.
Regular cleaning of these parts will help maintain the vacuum’s suction power and ensure optimal performance.
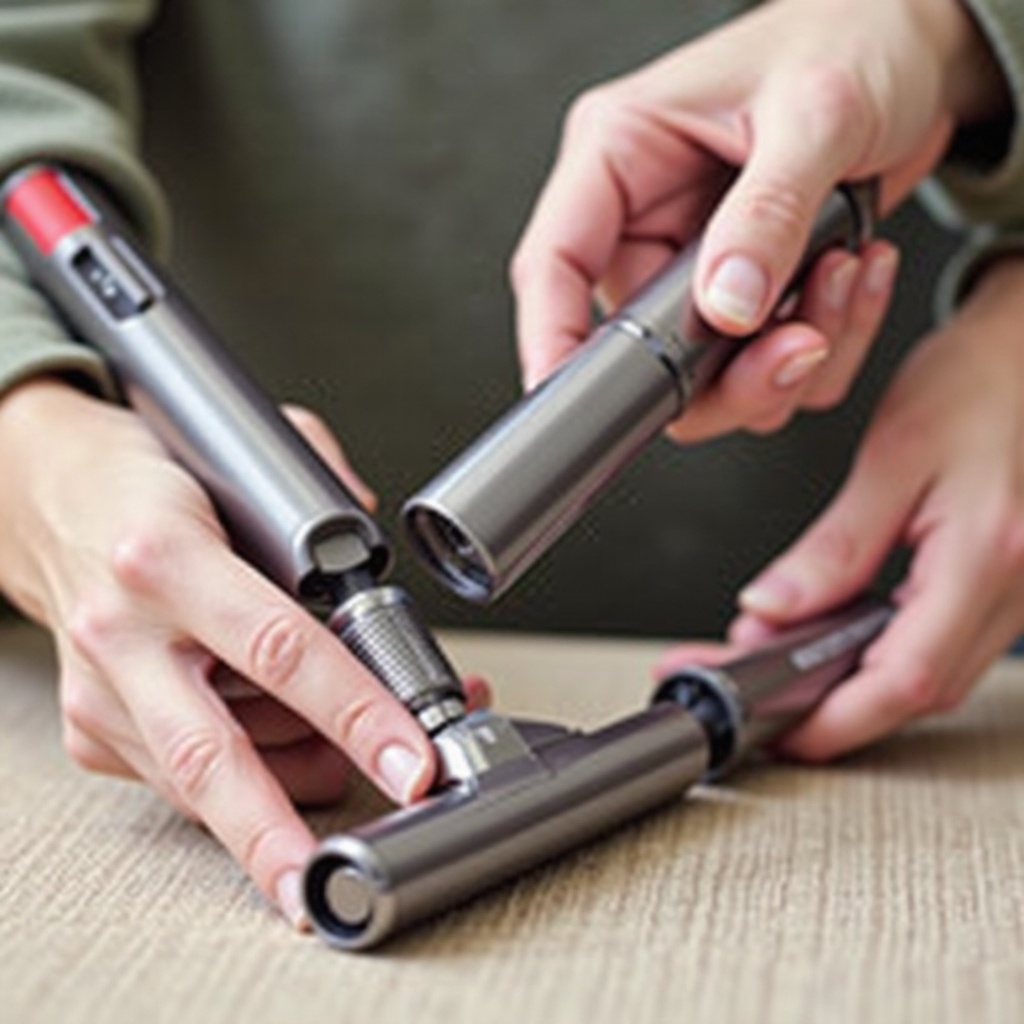
Reassembling Your Dyson Handheld Vacuum
Once all parts are clean and dry, begin reassembling your vacuum.
1. Reattach the Filter: Place the clean and dry filter back into its compartment.
2. Reattach the Dust Canister: Secure the canister back onto the vacuum body, ensuring it clicks into place.
3. Reassemble the Brush Bar: Reinsert the brush bar into the motorhead, locking it securely.
4. Reattach Additional Tools: Finally, reattach any other tools and accessories.
Double-check that all parts are firmly in place, and your vacuum is now clean and ready for use.
Maintenance Tips for Dyson Handheld Vacuums
To keep your Dyson handheld vacuum in top condition, follow these maintenance tips:
1. Regular Cleaning: Clean the vacuum after every few uses.
2. Check for Blockages: Regularly inspect the hose and attachments for blockages.
3. Filter Replacement: Replace the filter every 6-12 months, or as recommended by Dyson.
4. Battery Care: Avoid letting the battery drain completely and store the vacuum in a cool, dry place.
Following these tips will help your Dyson handheld vacuum perform efficiently and last longer.
Conclusion
Regular maintenance and cleaning are key to preserving the functionality and lifespan of your Dyson handheld vacuum. By following this guide, you’ll ensure that your vacuum remains in pristine condition, providing you with powerful suction and convenience for years to come. A clean vacuum is an efficient vacuum, so take the time to keep yours in top shape.
Frequently Asked Questions
How often should I clean my Dyson handheld vacuum?
It’s recommended to clean your Dyson handheld vacuum after every few uses to maintain optimal performance.
Can I wash the filter with soap?
No, do not use soap or detergent on the filter as it can damage it. Rinse with cold water only.
What should I do if my Dyson handheld vacuum loses suction power?
Check for blockages in the hose and attachments, clean the filter, and ensure the dust canister is empty. These steps usually restore suction power.