Introduction
Notifications are a double-edged sword. On one hand, they keep us updated; on the other hand, they can be a source of constant interruption, particularly when they decide to pop up during crucial activities like meetings, gaming sessions, or while enjoying a video. Gaining knowledge on managing these alerts can vastly enhance your Android experience, allowing you to enjoy uninterrupted productivity and leisure. This guide delves into effective strategies to control and stop pop-up notifications by adjusting settings, employing specialized modes, or utilizing third-party applications, thereby empowering you to take command of your Android device.
Understanding Android Notifications
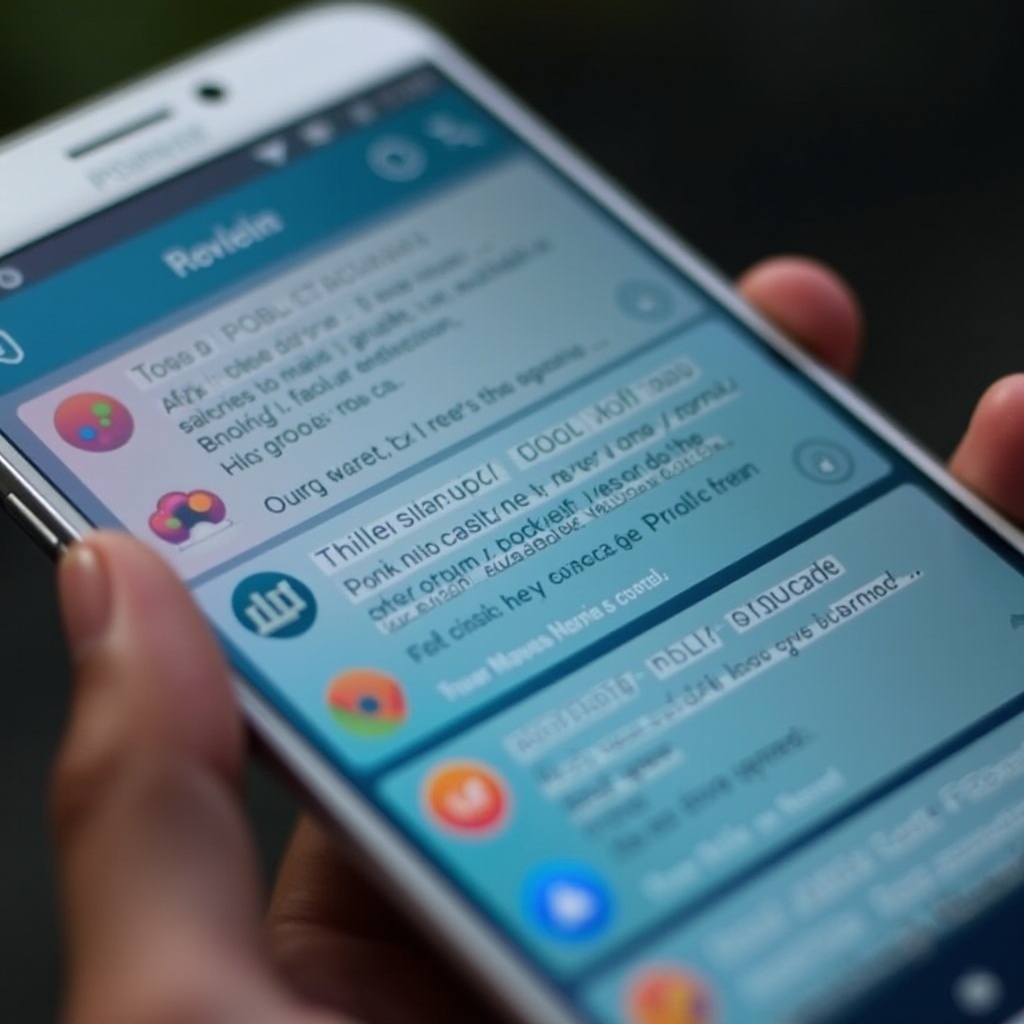
To successfully mitigate the nuisance of pop-up notifications, comprehending how Android notifications operate is essential. Android classifies notifications into several types, including sound alerts, vibrations, status bar displays, and pop-ups. Most apps request notification permissions to keep you informed about updates, but not every ping requires your immediate attention. Recognizing these different types will help you prioritize and manage alerts, paving the way for a less cluttered notification experience that focuses on essentials.
Disabling Pop-Up Notifications Through Settings
Android devices offer built-in settings that are a simple yet potent tool for managing notifications. Follow this procedure to disable pop-up alerts:
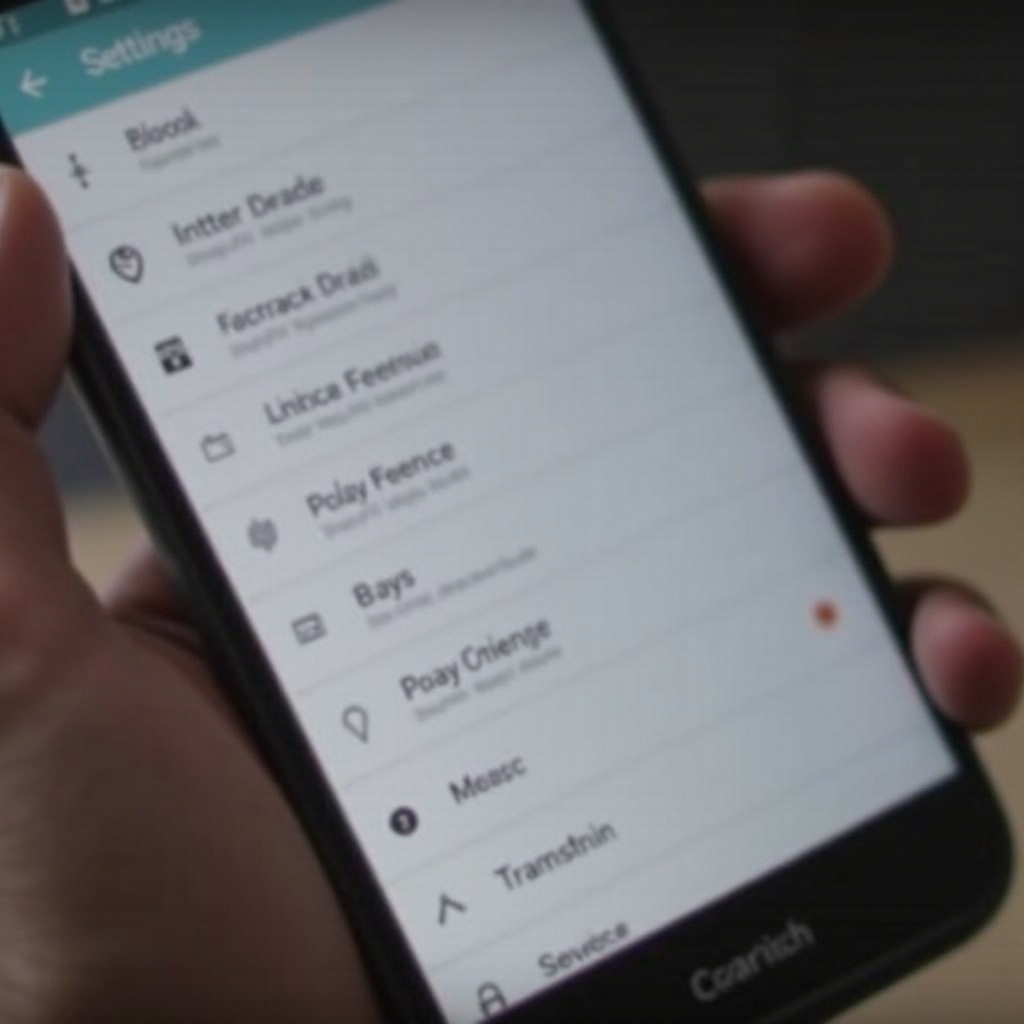
- Open Settings: Access the ‘Settings’ app on your device.
- Go to Notifications: Navigate to ‘Apps & Notifications’ or directly to ‘Notifications,’ depending on your device.
- Choose the App: Select the specific app for which you wish to disable pop-up notifications.
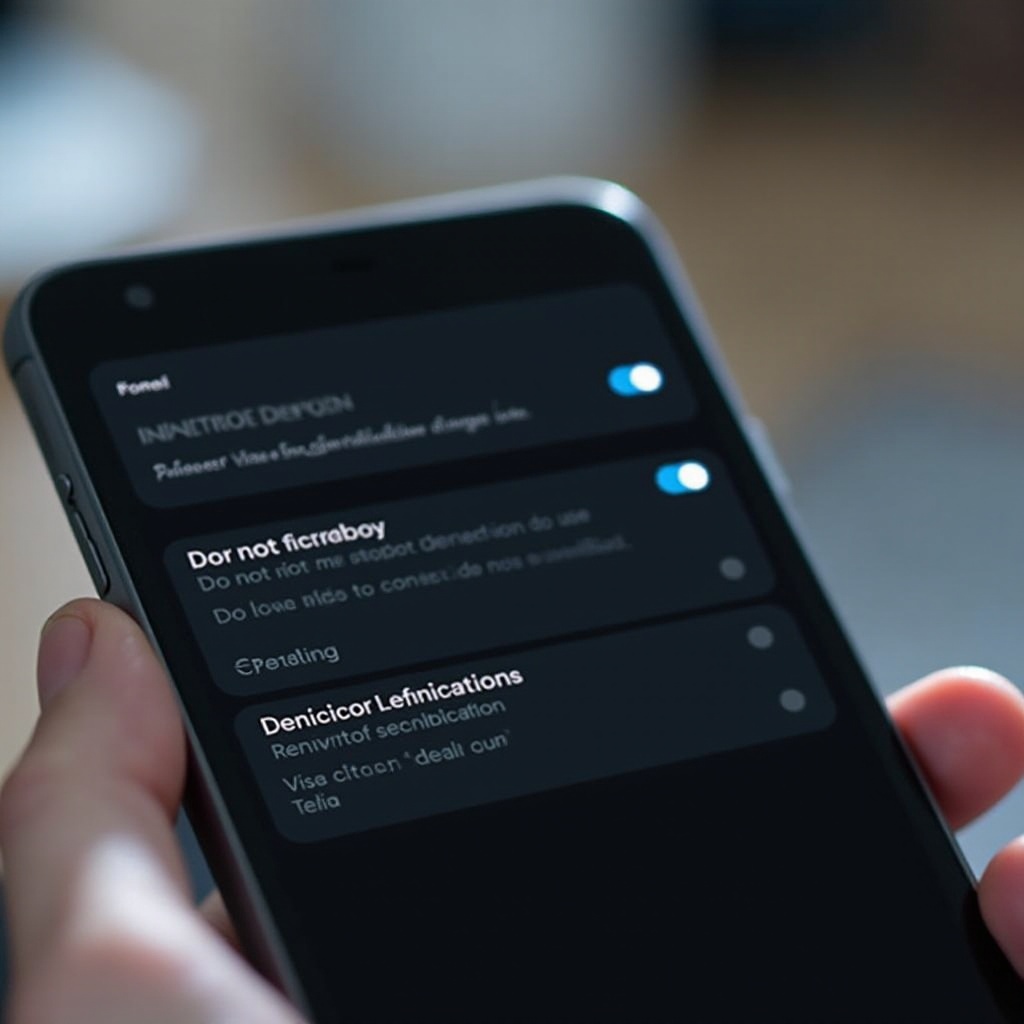
- Modify Notification Settings: In the app’s notification menu, locate ‘Pop-up Notifications’ or a similar option and switch it off by toggling the corresponding switch.
Executing these steps will stop pop-ups for the chosen app, while still allowing notifications in other less intrusive formats, such as in the notification bar. Apply this technique to other apps that frequently send non-urgent notifications to ensure you focus on the alerts that truly matter.
Using Do Not Disturb Mode Effectively
For times when you require absolute focus, the Android ‘Do Not Disturb’ mode provides the perfect solution by silencing notifications:
- Activate ‘Do Not Disturb’: Go to ‘Settings’ and tap on ‘Sound’ or ‘Sound & Vibration.
- Configure Your Preferences: Proceed to ‘Do Not Disturb’ settings where you can filter notifications, permitting only essential ones, such as calls from VIP contacts or urgent alerts.
- Schedule Timings: You can pre-set this feature to activate automatically during meetings, working hours, or overnight to ensure interruptions are minimized when unwelcome.
Utilizing ‘Do Not Disturb’ mode brings peace to your busy moments, letting only the most crucial notifications through, which is crucial for staying productive and focused during essential periods.
Managing App Permissions for Notifications
There are scenarios where it’s necessary to go beyond simple disabling and delve into app permissions to reduce unwanted notifications:
- Access Permissions: From ‘Settings,’ tap on ‘Apps.
- Select the Desired App: Choose the app for which you need to adjust notification permissions.
- Modify Permissions: Click on ‘Permissions’ and control unnecessary notification-related permissions.
This method provides more refined control over what notifications each app may send, allowing further customization of your notification experience to better suit your real-time needs.
Third-Party Apps to Control Notifications
If adjustments via standard settings are insufficient for your notification needs, consider third-party applications which can offer enhanced control:
- Features and Tools: Apps like ‘Notification Manager’ or ‘Off the Grid’ offer a variety of tools to direct how notifications appear and when they ping.
- Seamless Integration: These apps are generally designed to work well with Android, offering user-friendly interfaces that enhance the overall notification management process.
Incorporating third-party apps into your notification strategy offers deeper customization and control, enabling a more streamlined digital life.
Troubleshooting Common Issues
In some cases, notifications may continue to persist even after attempts to disable them. For such instances, consider these solutions:
- Clear Cache Memory: Navigate to ‘Settings’ > ‘Apps,’ select the app, click on ‘Storage,’ and then ‘Clear Cache.
- Ensure Software is Up-to-Date: Make sure your device is updated with the latest firmware.
- Reinstall Apps: Uninstall and then reinstall any problematic apps if non-stop notifications remain an issue.
By following these troubleshooting steps, you can tackle issues that cause notifications to linger, ensuring the changes you make are successfully implemented.
Conclusion
Managing pop-up notifications on your Android device is a straightforward task that significantly improves your user experience, minimizing distractions and focusing on what truly matters to you. Through savvy use of settings, ‘Do Not Disturb’ mode, app permissions, and useful third-party applications, you can transform how notifications interact with your daily life. Controlling notification access liberates your Android experience, ensuring your phone serves your agenda, not vice versa.
Frequently Asked Questions
How do I turn off pop-up notifications for specific apps on Android?
To stop pop-ups for a specific app, head to ‘Settings,’ choose ‘Apps & Notifications,’ select the app, and disable ‘Pop-up Notifications.’
Can third-party apps help manage notifications better?
Yes, third-party apps such as ‘Notification Manager’ provide enhanced features to help better control and tailor notifications.
What should I do if disabling notifications doesn’t work?
If notifications persist, try clearing the app cache, updating the system, or reinstalling the app to resolve ongoing issues.