Introduction
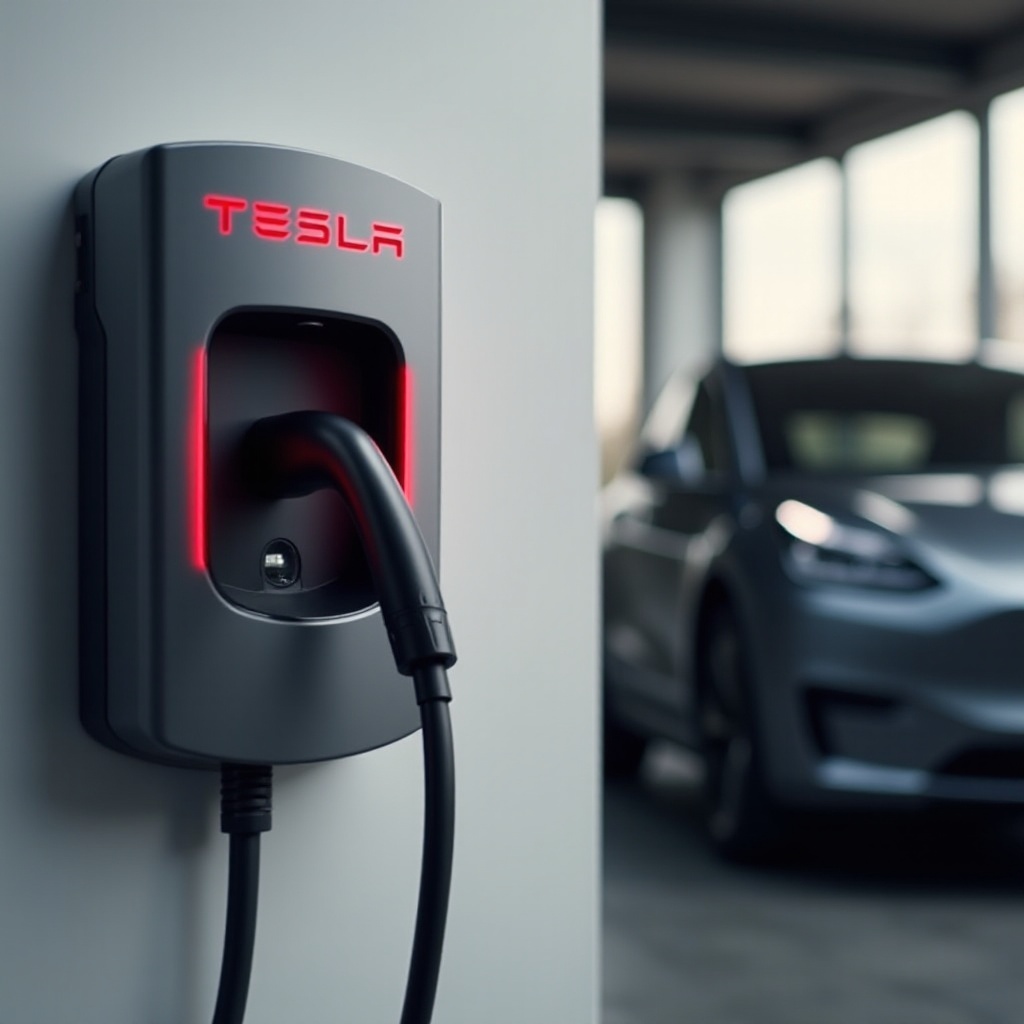
When your Tesla wall charger stops working, it can be a real setback, especially when you’re in a rush or expecting a seamless charging experience. This guide will help you troubleshoot common Tesla wall charger issues, ensuring you can quickly restore your charging system to optimal functionality.
We understand that identifying and solving these issues can be frustrating, which is why we’ve compiled a comprehensive and straightforward guide. You’ll learn about common problems, diagnostic steps, and effective troubleshooting methods. Additionally, we provide tips on when to contact Tesla support and preventive maintenance practices. Read on to get your Tesla charger back on track.

Common Issues with Tesla Wall Chargers
Tesla wall chargers are generally reliable, but they are not immune to issues. Some of the common problems owners face include:
- No Power or Intermittent Power: This can be due to a range of factors, including issues with the power source, faulty wiring, or the charger itself.
- Loose or Faulty Connections: Over time, the connections might become loose or corroded, leading to poor performance.
- Damaged Charging Cable: Wear and tear can cause the charging cable to become frayed or otherwise damaged.
- Error Codes: Tesla chargers are equipped with error codes that signal specific problems. Understanding these codes can help diagnose the issue.
- Software or Firmware Glitches: Outdated software or firmware can lead to malfunctioning chargers.
Being aware of these potential problems is the first step in resolving any issues you may encounter.

Step-by-Step Guide to Diagnosing the Problem
Before attempting any fixes, it’s essential to diagnose the problem accurately. Follow these steps to identify the cause of the malfunction:
Checking Power Supply and Connections
- Inspect Your Power Source: Ensure that your wall outlet or circuit breaker is functioning correctly. Check if other devices work when plugged into the same outlet.
- Examine the Charger: Make sure the charger is securely plugged into the power source. Any loose connections could be the culprit.
Inspecting Cables and Charger for Damage
- Check the Cable: Look for any visible signs of wear and tear on the charging cable. A damaged cable can impede charging.
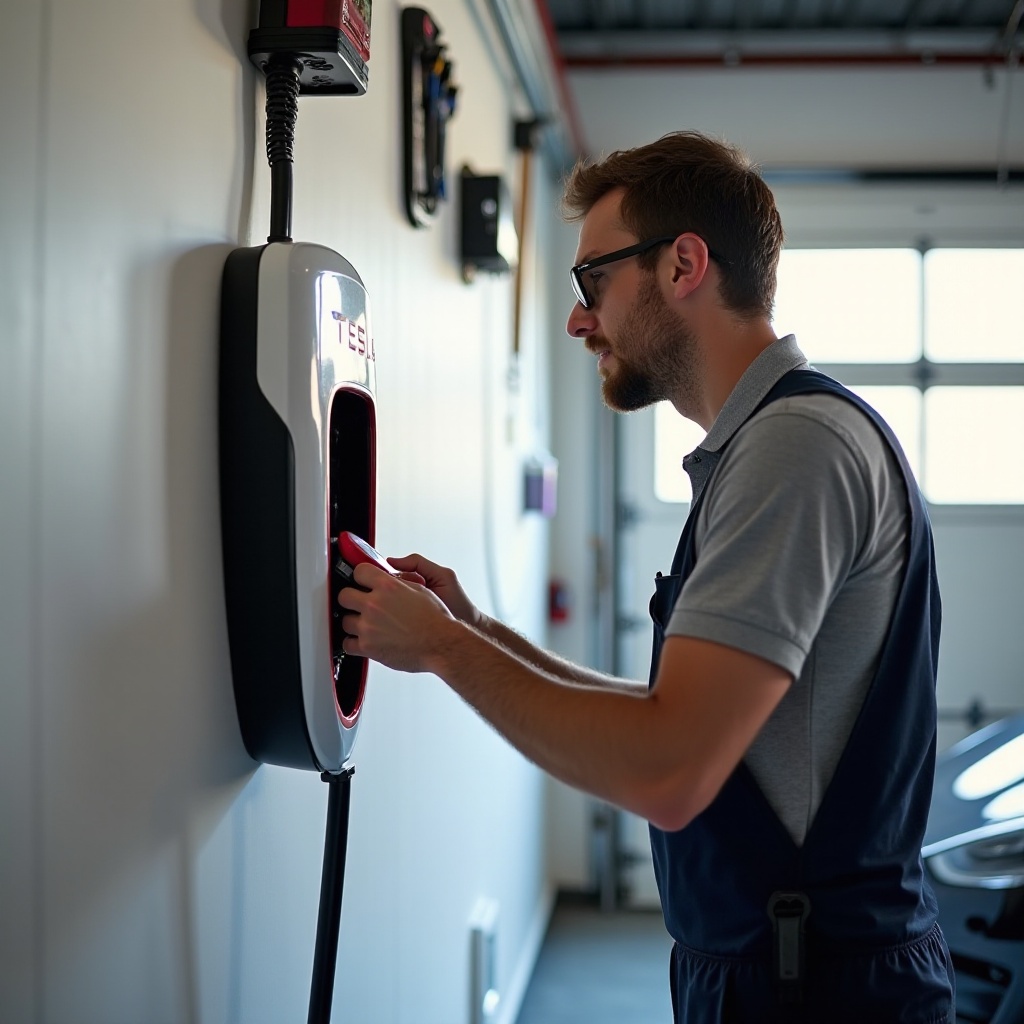
- Inspect the Charger Unit: Examine the unit itself for any damage, including cracks or signs of overheating.
Understanding Error Codes and Messages
- Read the Error Codes: Tesla chargers come with an LED indicator that flashes different patterns to signal specific errors. Refer to your charger’s manual to understand what these patterns mean.
- Follow Manufacturer Guidance: Tesla provides detailed instructions on what to do based on the error codes. Follow these guidelines for an accurate diagnosis.
A thorough inspection using these steps will help you zero in on the issue at hand, making it easier to apply the correct fix.
Troubleshooting and Fixes
Once you’ve identified the problem, it’s time to troubleshoot and implement fixes. Here are the most effective methods:
Restarting Your Charger and Vehicle
- Power Cycle the Charger: Unplug the charger from the power source for about 10 seconds and then plug it back in. A simple reset can sometimes solve the issue.
- Restart Your Tesla: Similarly, power off your Tesla completely and then restart it. This can reset any software glitches that might be affecting the charging process.
Updating Firmware and Software
- Check for Updates: Tesla frequently releases software updates that can fix bugs or improve performance.
- Install Updates: If an update is available, follow Tesla’s instructions for installing it. Ensure both your vehicle and charger have the latest firmware.
Testing with Different Electrical Outlets
- Use a Different Outlet: Plug your charger into a different wall outlet to rule out problems with your current power source.
- Check Circuit Breaker: Ensure the circuit breaker has not tripped. If it has, reset it and see if that resolves the issue.
By following these troubleshooting steps, you can often resolve the most common problems yourself.
When to Contact Tesla Support
Even after troubleshooting, some issues may persist. If you’ve followed these steps and still can’t get your Tesla wall charger to work, it’s time to contact Tesla support. Here are scenarios where professional help is needed:
- Persistent Error Codes: If error codes still appear after troubleshooting.
- Physical Damage: If there is noticeable physical damage to the charger or cables.
- Warranty Claims: If your charger is still under warranty and needs professional repairs or replacement.
When reaching out to Tesla support, provide all relevant details, including error codes and steps you’ve already taken to resolve the issue.
Preventive Maintenance Tips
Maintaining your Tesla wall charger can significantly reduce the likelihood of issues. Here are some preventive maintenance tips:
Regular Visual Inspections
- Inspect the Charger and Cables: Regularly check for signs of wear and tear.
- Monitor Connections: Ensure all connections are tight and secure.
Cleaning and Dusting Your Charger
- Wipe Down the Charger: Use a dry cloth to remove dust and dirt from the charger.
- Clean the Cable: Occasionally clean the charging cable to avoid dust accumulation.
Monitoring and Protecting Against Environmental Factors
- Avoid Extreme Temperatures: Ensure your charger is not exposed to extreme heat or cold.
- Keep It Dry: Protect the charging unit from water exposure to prevent short circuits.
By performing these simple maintenance tasks, you can extend the lifespan of your charger and ensure it operates efficiently.

Conclusion
Fixing a non-working Tesla wall charger doesn’t have to be a daunting task. By understanding common issues, diagnosing the problem, and applying the right troubleshooting steps, you can often resolve the issue without needing professional help. However, don’t hesitate to contact Tesla support if needed. Regular maintenance will also ensure your charger stays in top condition, providing reliable service for years to come.
Frequently Asked Questions
Why is my Tesla wall charger not charging my car?
This can be caused by several factors, including no power supply, faulty connections, a damaged charging cable, or software issues. Use the diagnostic steps provided in this guide to identify the issue.
How do I reset my Tesla wall charger?
To reset your Tesla wall charger, unplug it from the power source, wait for about 10 seconds, and then plug it back in. This power cycle can often resolve minor issues.
What should I do if my Tesla charger keeps disconnecting?
If your Tesla charger keeps disconnecting, check for loose connections, inspect the cable and charger for damage, and ensure that your power source is stable. If problems persist, consult Tesla support for further assistance.


